
CONCRETE WORKTOPS
€78.80
- Secure payment by card
- E-mail us, we reply swiftly!
- These rows can be edited \*
\* Edit these rows under Content > Product page
Description
Article no.: 1000-90
WHY CAST A CONCRETE WORKTOP IN A PLASTIC MOULD?
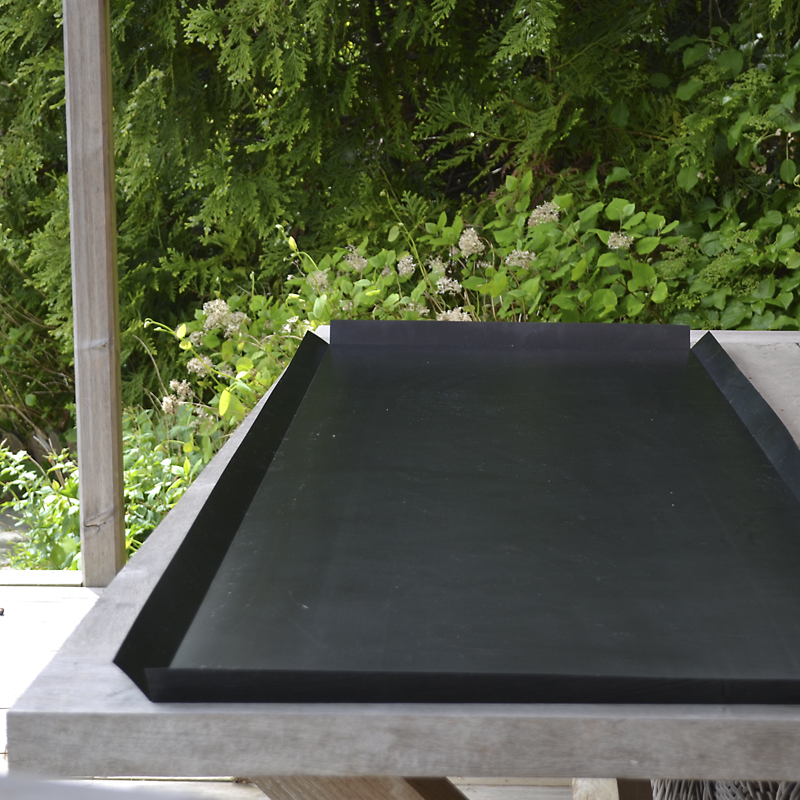
The plastic mould instantly give you a perfect surface and waterproof edges. It can be used over and over again, and easily adjusted in length. You only need to support the mould around the edges with cheap wood. A concrete worktop costs as much as a stone countertop. The big difference is that you can make a concrete worktop yourself with simple tools – but only if you have the right knowledge about every step. The hardest part is creating a smooth mould, but that problem has been solved for you! Along with the mould you get a step-by-step description with pictures. It will take you some time to read – but it took me several years of tests to be able to write it!
MOULD KIT – A LARGE CARBON TUBE WITH:
Mould for countertop (190x62x5cm)
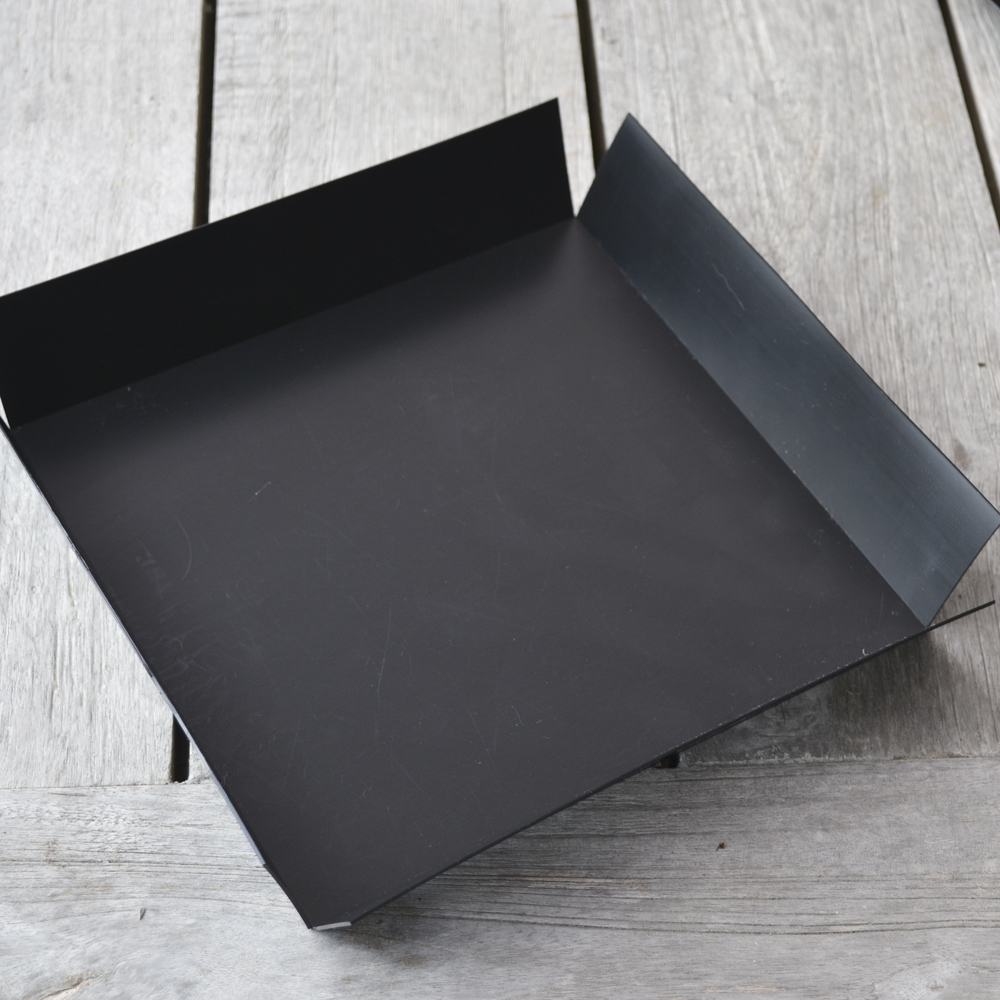
Test mould (18x18x5cm)
Detailed description with more than 50 pictures
LIST OF CONTENTS IN THE DESCRIPTION:
1. Why cast in a plastic mould?
2. Plan measurement and weight
3. Consumption of material
4. Tools
5. Adjust the length
6. Cast tests in the test mould
7. Prepare the casting space
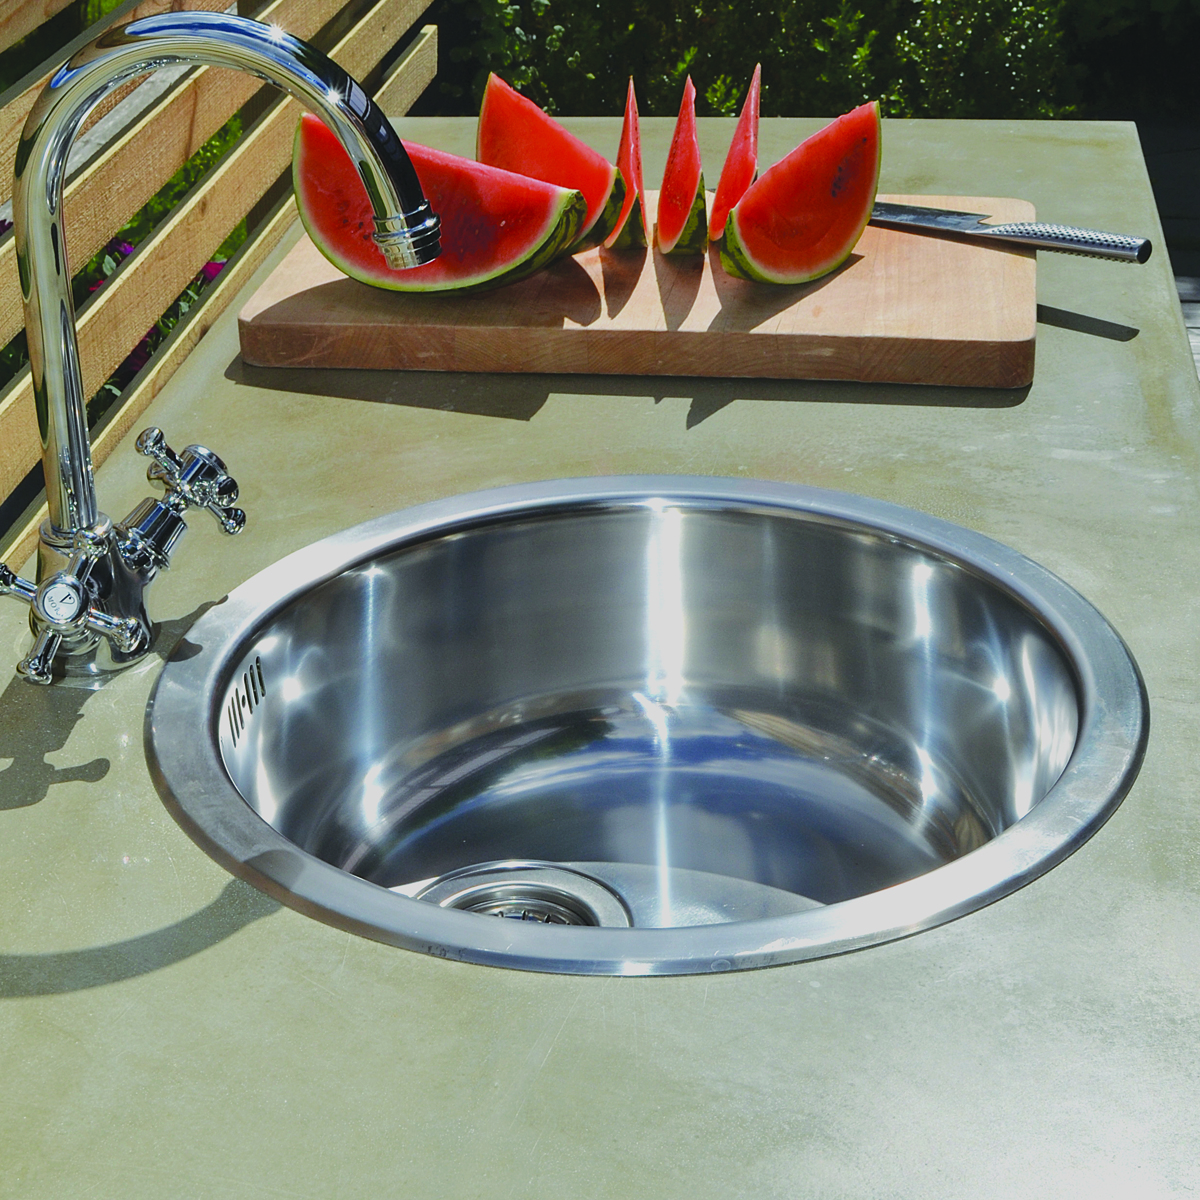
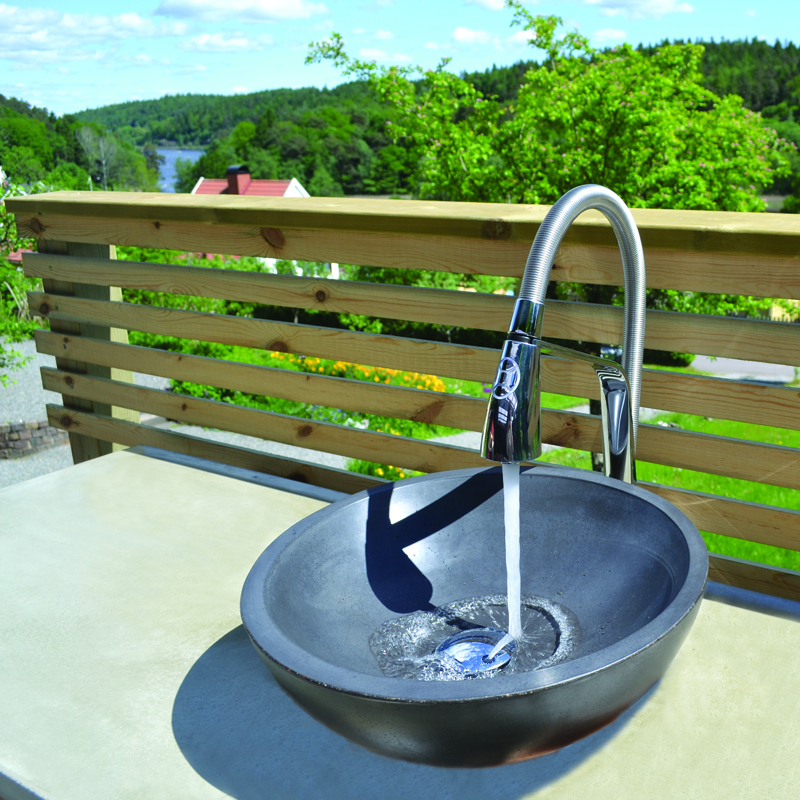
8. Opening for sink/water tap/stove top
9. Reinforce
10. Time to cast
11. Remove the mould
12. Sandpaper – different methods
13. Surface treatments – two good ways
14. Care instructions
Length: 1900 mm
Width: 620 mm
Height: 50 mm
If you want the worktop to be more then 620 mm wide, it can be adjusted up to a maximum width of 900 mm. Note your request on the order.
I recommend you to choose what kind of surface treatment you want. You will find Steinfix or Seal Hard + Concrete Wax under ADD-ONS.